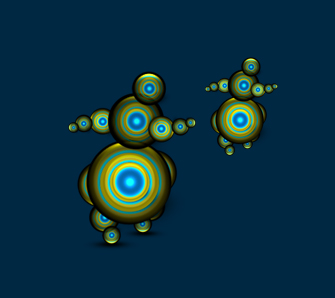
Preview:
Futuristic Logo Design.

Step 1:
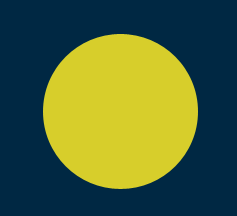
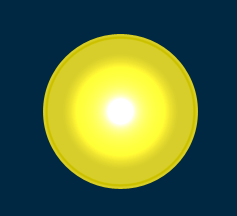
Let’s start out by creating a new file. I used a 500×500 pixels canvas set at 72dpi, and I filled my background with #002843 color shade. Now create a layer set and name it 'Circle Design'. In a new layer draw a yellow circle with #D7CE2B color shade and 155 x 155 px dimensions.
Step 2:
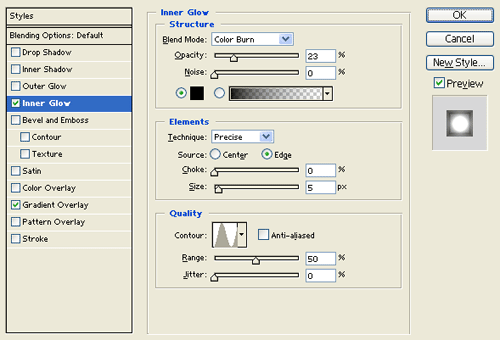
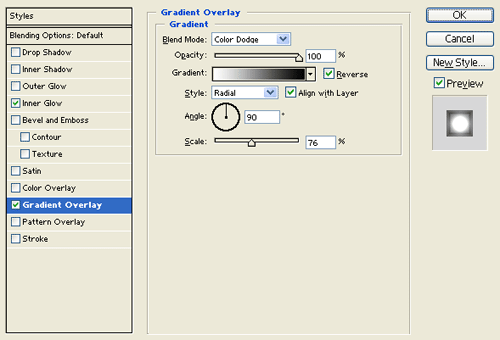
Under Layer Style(Layer > Layer Style) add an Inner Glow and Gradient Overlay blending options to your yellow circle layer.
Result:
Step 3:
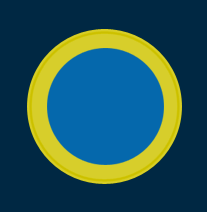
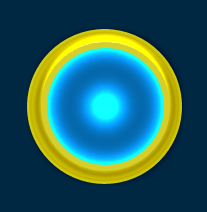
In a new layer draw a blue circle with #0568AC color shade and 117 x 117 px dimensions.
Step 4:
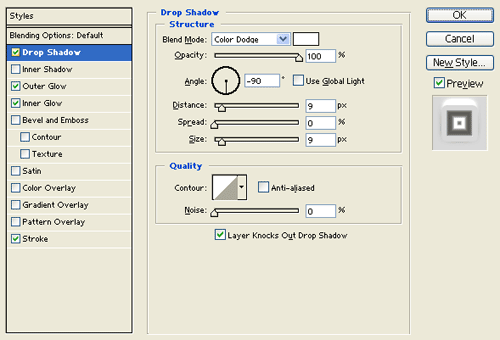
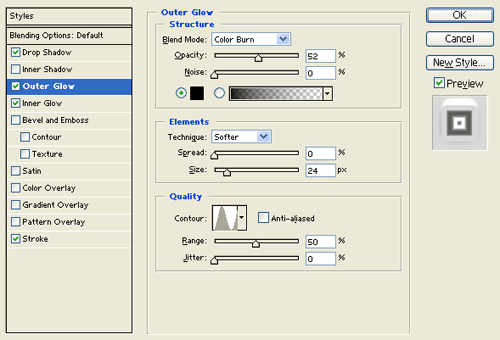
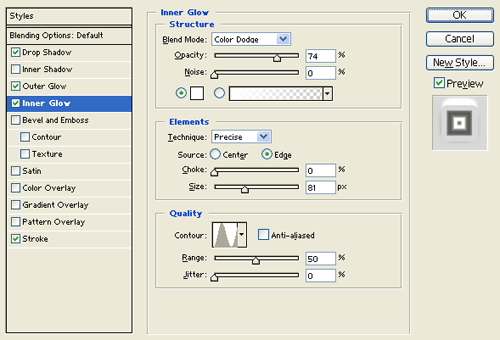
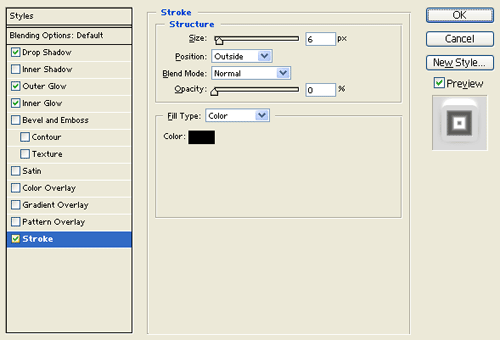
Under Layer Style(Layer > Layer Style) add a Drop Shadow, Outer Glow, Inner Glow and Stroke blending options to your yellow circle layer.
Result:
Step 5:
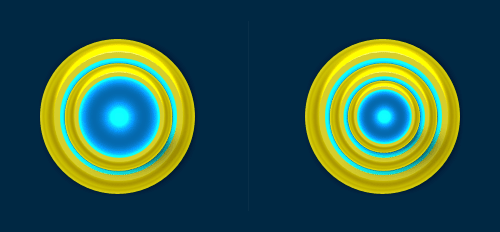
Now duplicate your 'Circle Design' layer set and merge it down through Layer > Merge Layer Set. Resize the circle design layer copy and position it inside the first circle design. Then finish it off with a smaller circle design on the center. Place the new circle design layers inside the 'Circle Design' layer set.
Step 6:
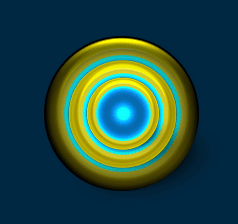
Now merge down your original 'Circle Design' layer set so the design turns into 1 layer. Under Layer Style(Layer > Layer Style) add an Inner Shadow and Inner Glow blending options.
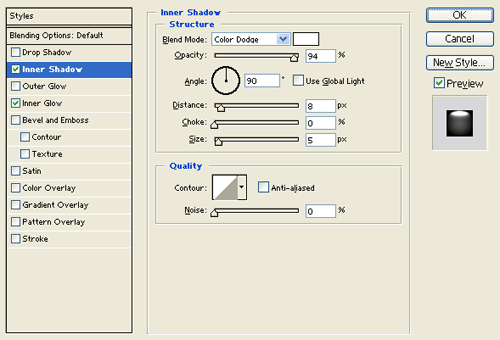
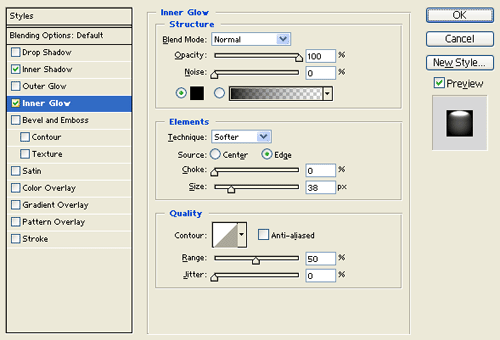
Result:
Step 7:
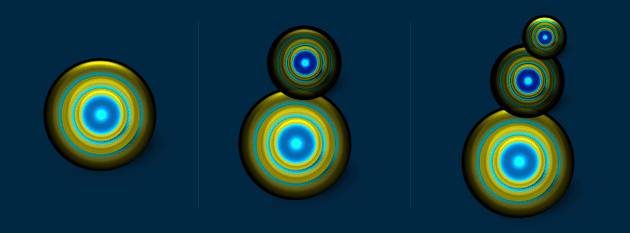
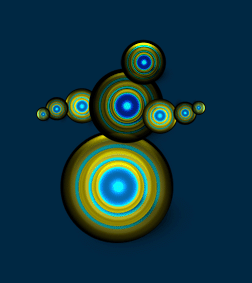
Now resize the circle design layer by 20%. Then duplicate the circle design twice with different sizes and set the layer's blending mode to Hard Light, position as shown below. This will be full body of the futuristic logo.
Step 8:
Once you set up the three circle designs from the last step, place them in a new layer set. Then duplicate the layer set and merge it down through Layer > Merge Layer Set. Resize the duplicate design and set it up as shown below. This will be the arms of the futuristic logo.
Step 9:
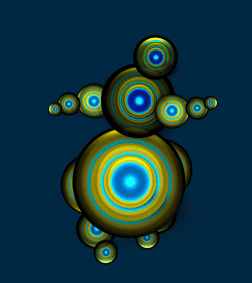
Now add the legs behind the full body.
Results:
Futuristic Logo Design.
