
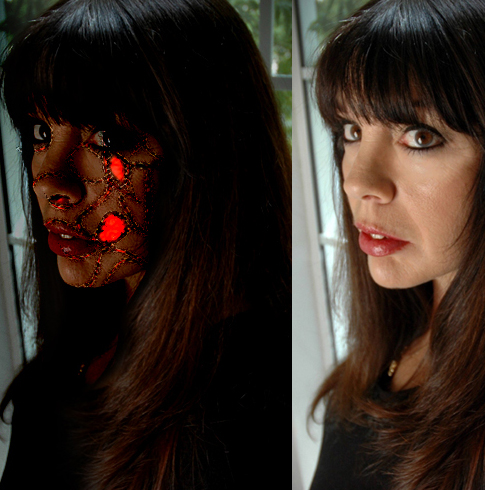
Preview:
Bloody Slices and Cuts Photo Effect.
Step 1:
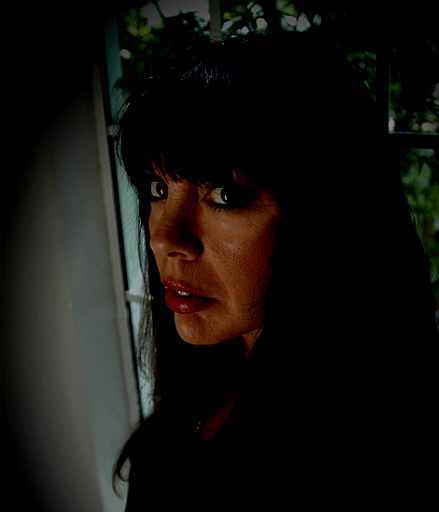
Start with a photo file, grab the stock below to follow through the tutorial.
Step 2:
In a new layer draw a thin black ellipse with 7 x 62 px dimensions on the face area.

Step 3:
Under Layer Style(Layer > Layer Style) add an Outer Glow, Inner Glow, Pattern Overlay and Stroke blending option to the thin black ellipse layer. Then set the layer's blending mode to Lighten.

Result:
Step 4:
Duplicate the cut effect design/black ellipse layer and apply a wave effect through Filter > Distort, use the settings below. Apply twice.
Step 5:
Now fill up the face with cut effects, use the wave filter and the settings under transform to get the results you want..
Step 6:
Create a new layer and draw black thick spots between cuts on the face as shown below.
Step 7:
Under Layer Style(Layer > Layer Style) add an Outer Glow, Inner Glow, Pattern Overlay and Stroke blending option to the black spots layer. Then set the layer's blending mode to Lighten.


Result:
Results:
Bloody Slices and Cuts Photo Effect.